Following on from Part 1 of this mini project to automatically transfer a client’s database across to their domain, the next part I intend to look at is the automation of exporting the Sql Azure database. I’m going to tackle this through Azure Automation, also referred to as Runbooks, using a Powershell script. I’ll split this down into the following steps:
- Create automation account (inside Azure Portal) and ensure the latest AzureRm modules are installed
- Create Sql Export script and test on demand
- Add script into runbook and test
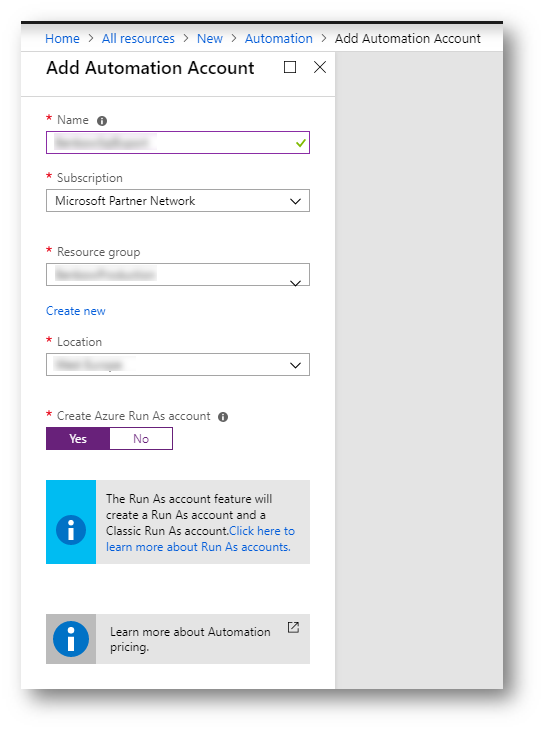
Automation Account
Set up my automation account to run in the same resource group and location as the database
Check for the following modules:
AzureRM.Automation – AzureRM.Profile – AzureRM.Sql
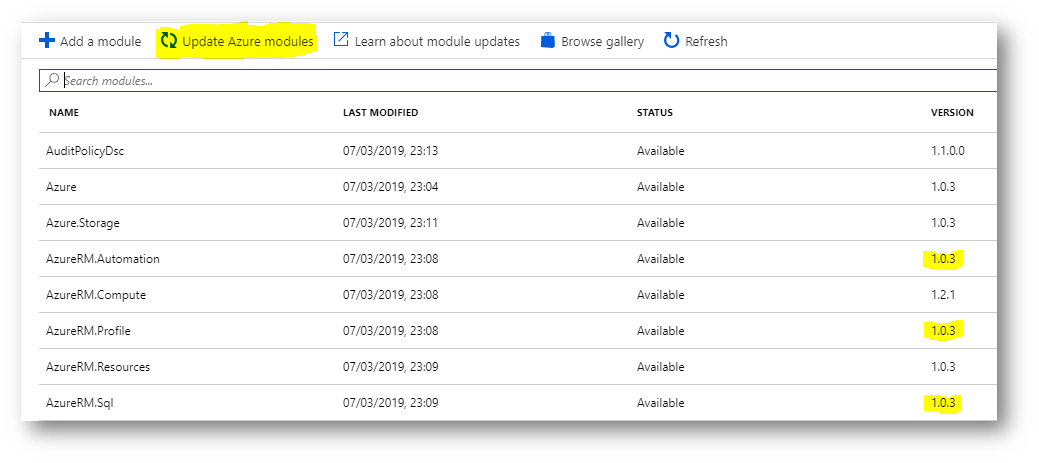
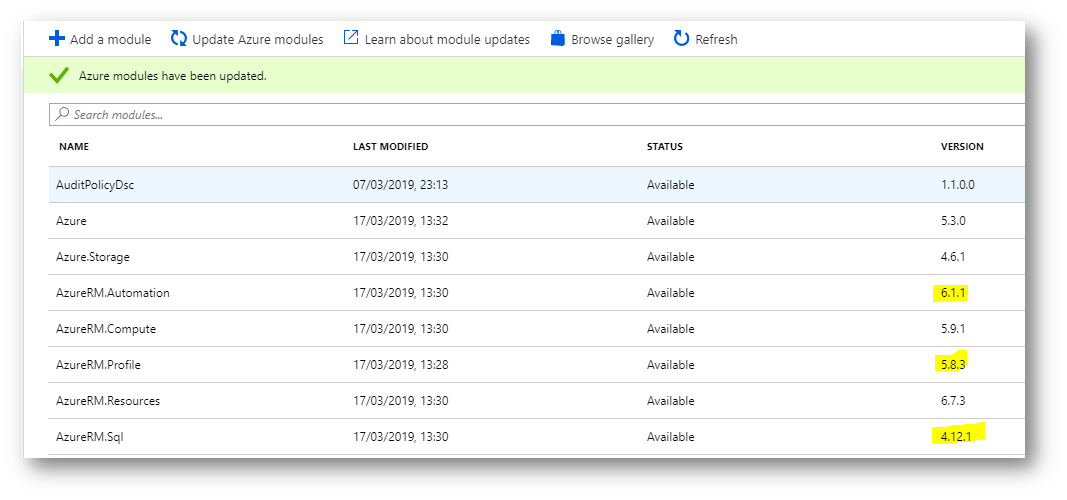
Clearly need updating – this takes a few minutes
Create scripts
When I say create, I could stretch out my powershell skills and hand craft something from scratch but chances are someone has done something similar to this many times before and Azure Automation as a gallery of runbooks that you can search to see if you can avoid reinventing the wheel.
‘Export Sql Azure’ did not return any results from me but ‘Azure Sql’ search came up with a ‘Backup Azure SQL Databases to Blob storage‘ which, on close inspection is actually an export script, exactly what I need. The balance between handcrafting your own scripts and importing community scripts is down to both your preference and the specifics of the task at hand. The gallery shows number of downloads and ratings, so this can give you an idea of how tried and tested each script is. It’s always important to know enough about what you want to do to be able to understand what ever script you decided to import or build. Ince you import a runbook, it will show up under your runbooks blade:
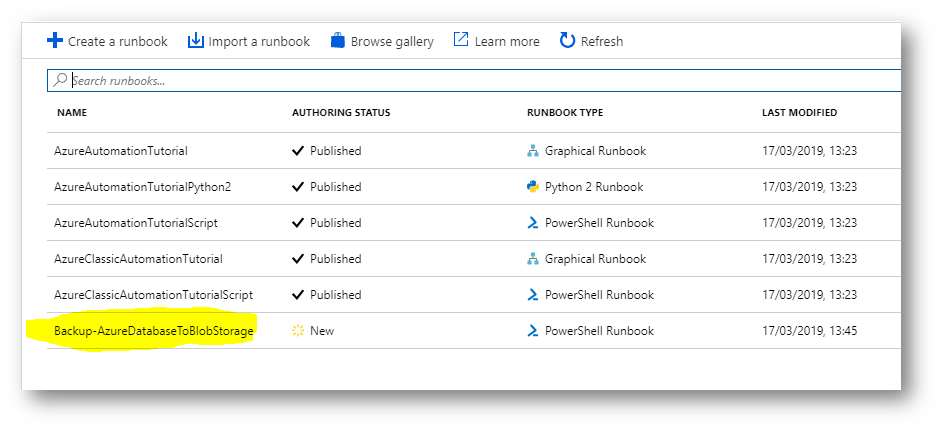
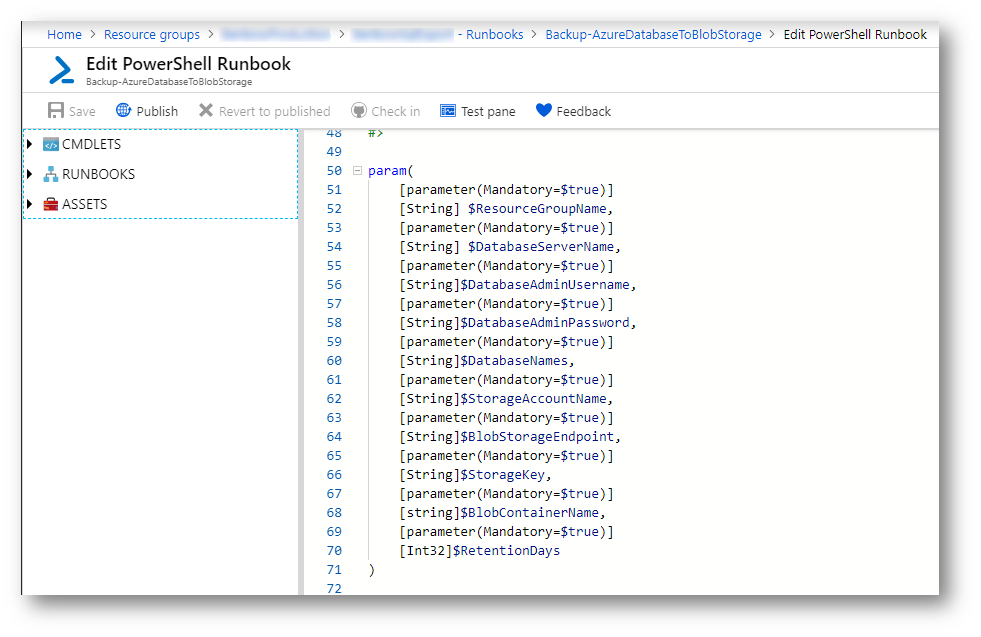
Clicking on the new runbook will show you the overview on the runbook. Click Edit to have a look at the script and gain access to the test pane. You can edit the script to better suit your needs but this looks like a good place for me to start.
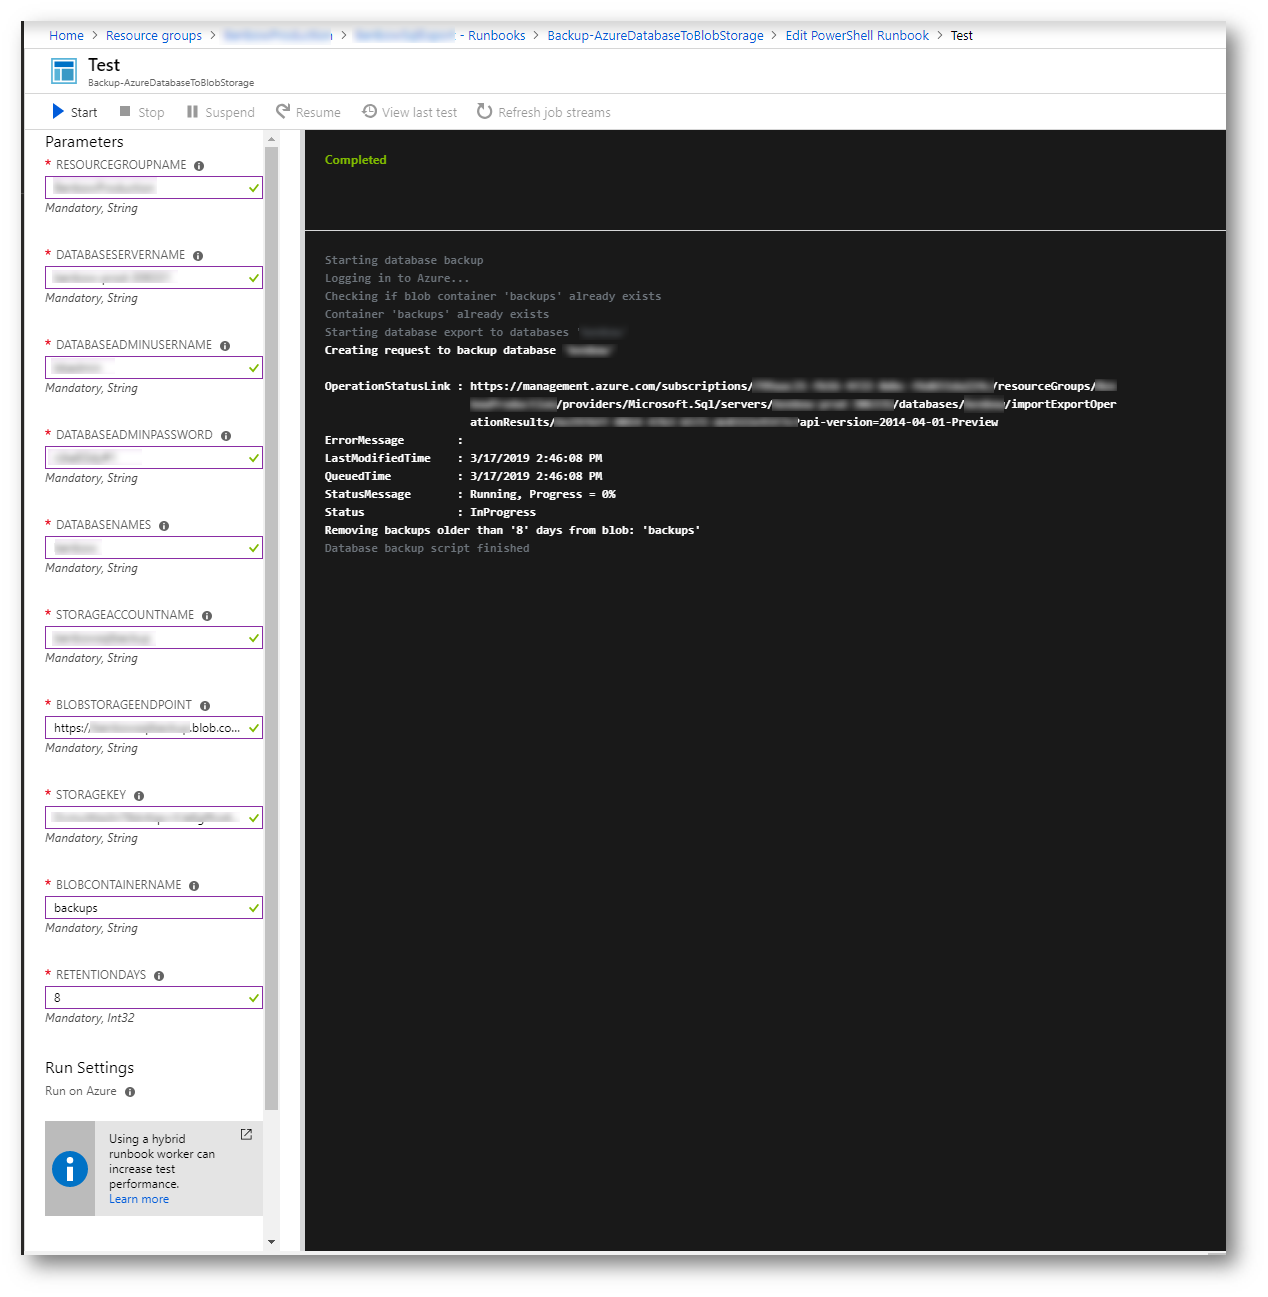
Test the script out
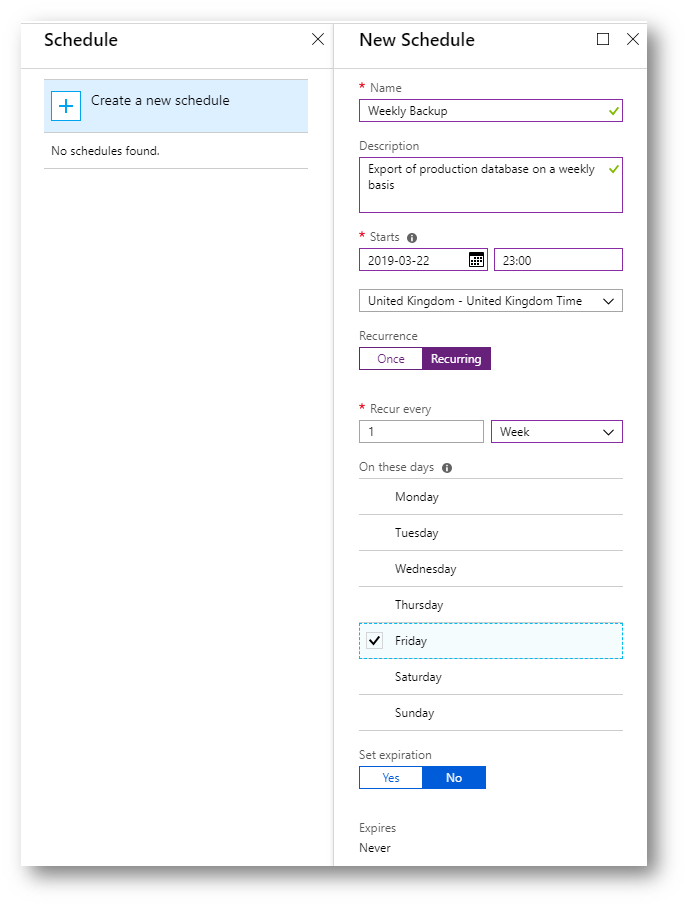
Once you are happy with the test results, click back to the Edit screen and hit Publish, then Link to schedule and create a new schedule for your export
Click on the Configure parameters and run settings blade to provide your parameters values for your runbook schedule. If you are likely to run the same runbook on different schedule but common parameters, it’s worth adding default values into the parameters section of the script.

One drawback I find to this approach is that you do not get the option to run a schedule on demand to allow testing of input parameters (at least that I can see). The workaround is to set up the schedule to run initially in a few minutes time to test and then reset the schedule time to whatever is required.
0 Comments